
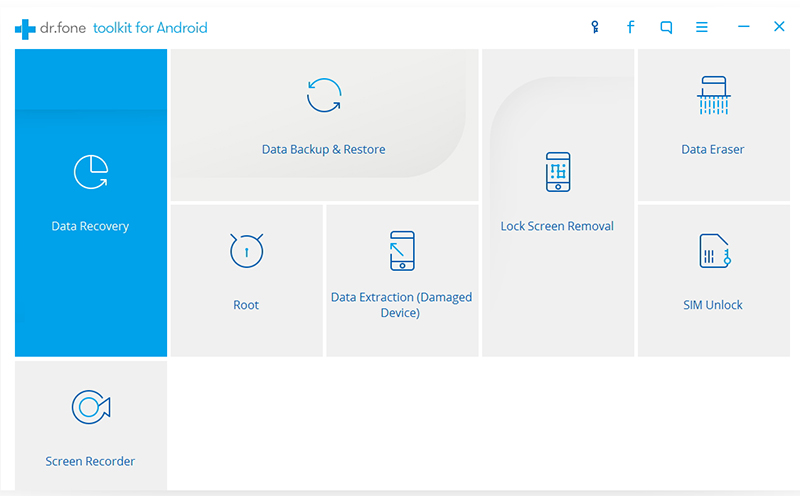
Next, we will explain in detail how to use this software to restore your data from broken screen Samsung A9, please continue reading below.


Step 1. Connect your phone and computer with a data cable
First, you have to download, install and run Android Data Recovery on your PC in advance. then use USB cable to connect your Samsung to computer. In addition, you need to enable the USB debugging to ensure that the tool can detect your phone.
Step 2. Select the file type to scan
After the connection is successful, you can see all the data types that can be restored. By default, it has checked all file types. Choose the type of data you want to recover and click "Next".

Step 3. Scan the device and find the missing data
Here you can select the scan mode, divided into "Standard Mode" and "Advanced Mode", you can read the instructions to understand the difference between them and choose one. We recommend that you first select the "Standard Mode", if you can not find the file you want, then select "Advanced Mode".

Note: Super user authorization may occur during scanning. If you get it, click "Allow" to continue.
Step 4. Preview and restore the data you want
After the scan is complete, you can see the items one by one, select what you want, then click "Recover". Successfully recover data will be automatically saved in your computer.

More info:
Recover Data from Samsung with Broken/Death Screen
How to Fix Samsung Galaxy Black Screen of Death
How to Recover Lost Data from Blank Screen Samsung?
Recover Data from Water Damaged Samsung Galaxy
does not work with A310
ReplyDeleteTq for sharing vauable infromation,
ReplyDeleteTo recover the lost files click on:
diskdigger for android
smartphone data recovery
android data recovery without root
android data recovery review
launch android data recovery
Doesnt work for any A series samsung. Timewasters.
ReplyDelete